

What will we need?
Raspberry Pi 5 with an SSD drive. A compact solution is available in our webshop.
(Optional - if you use NVMe SSD) NVMe SSD to USB adapter
Power adapter with at least 25W output.
Software
For the Raspberry Pi, we will use the Raspberry Pi Imager, which is available for Linux, Mac, and Windows. This is because, for security reasons, the new images no longer have a default password and you must create one yourself. The easiest way is through this utility. You can download it from the link below:
https://www.raspberrypi.com/software/

After installation, run the imager and select your Raspberry Pi version. Then choose Raspberry Pi OS (Other) and Raspberry Pi OS Lite (64-bit) for your Raspberry Pi version.

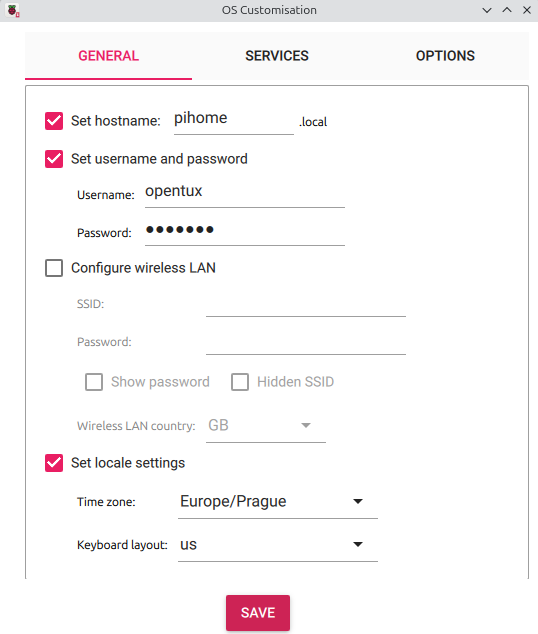
In the last step, select your SSD drive (be careful to choose the correct device — ideally unplug all other USB drives and flash drives!). Click Next and when prompted for OS Customization, choose Edit Settings. Under the Services tab, enable SSH by selecting Enable SSH, and in the General tab, set your hostname and default username and password for SSH access. Click Save and then Yes.
Next, simply insert the SSD drive into your Raspberry Pi, connect a LAN cable from your home or office router/network, and plug in the power supply. The green LED should start blinking. If the ethernet cable is connected, the Raspberry Pi has likely obtained an IP address from your DHCP router.
Now we will use SSH to access our Raspberry Pi. For beginners, it might be a good time to get familiar with the terminal (command line in Linux), for example through the article A Beginner’s Guide to the Linux Command Line. It might look intimidating but it’s the most powerful part of Linux — it just works everywhere and has remained consistent for decades.
For Windows 10 users, SSH is already built in via the shell. For other Windows users, we recommend the Putty app. If you use Linux, no further explanation is needed. Connect via terminal using the following SSH command below. Replace the IP address with the one you found in your router. Use the username and password you set in Raspberry Pi Imager. For example, in our case:
Note: If pihome.local address not working, connect to your router and check the list of connected devices to find the IP address of the device with the hostname pihome or whatever name you chose. For example, ours is 192.168.1.56.
1) Installing Casa OS
Once connected, update the OS with these two commands consecutively:
sudo apt-get update
sudo apt-get upgrade
This will take a few minutes. Finally, install Casa OS by running this script:
wget -qO- https://get.casaos.io | sudo bash
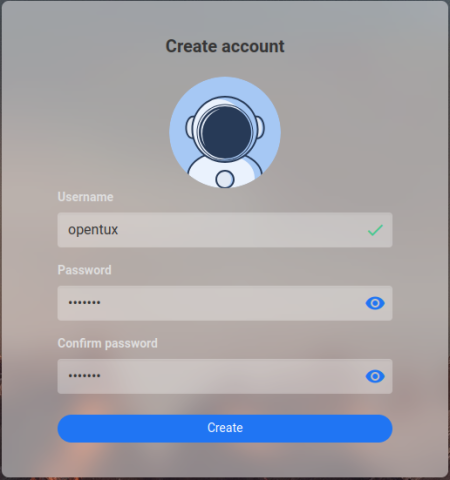
After a few more minutes, the Casa OS application will be ready. Open your web browser and enter the address of your Raspberry Pi. For example: http://pihome.local You will be prompted to create an admin account for Casa OS as the first step.
What is CasaOS?
An open-source operating system designed for home servers and NAS (Network Attached Storage) devices. It allows easy installation and management of containerized applications using Docker, simplifying the deployment of services like media servers, VPNs, and file syncing apps. It supports installing various applications and extensions, enabling customization to suit user needs without requiring detailed knowledge of Docker or containers.
2) Prerequisites for smarthome Mosquitto, Code server and n8n
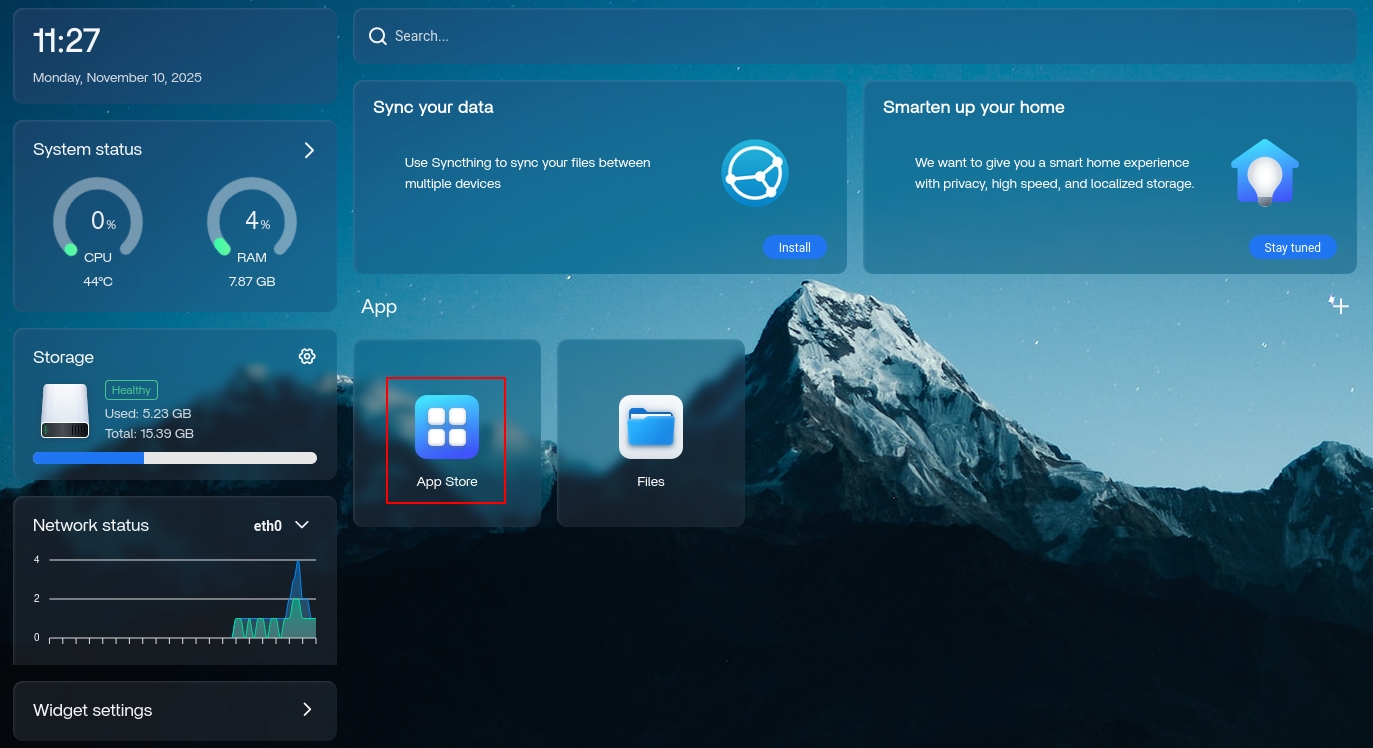
Once connected, login to Casa OS and navigate to App Store.
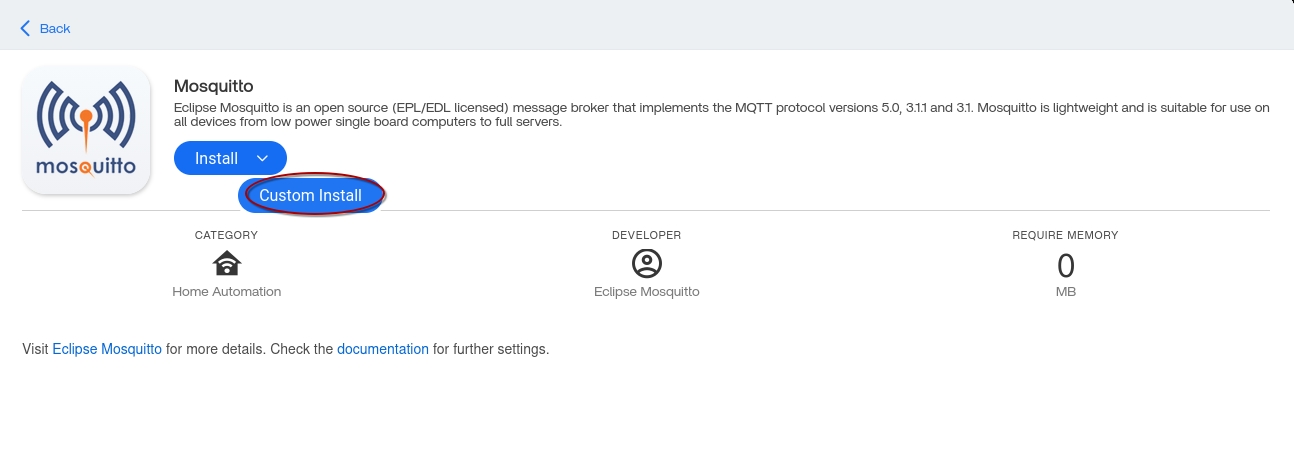
Mosquitto
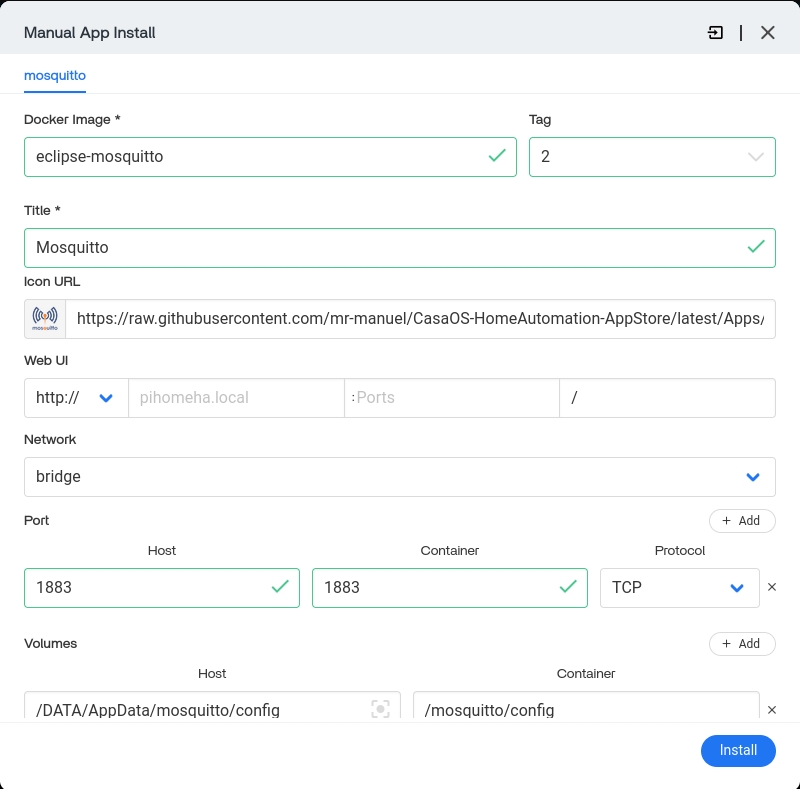
Search for Mosquitto, click on it and choose Custom install. In this case, we don't need to change anything and click Install.
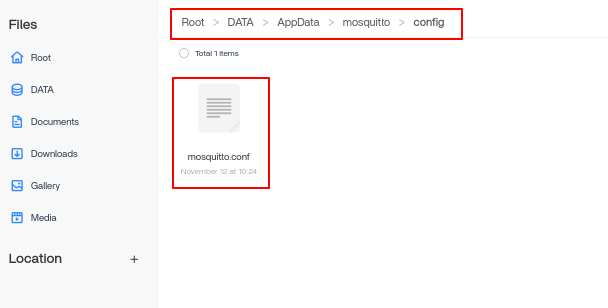
After installation, open Files in Casa OS, navigate to DATA/AppData/mosquitto/config and clik on mosquitto.conf to edit file.
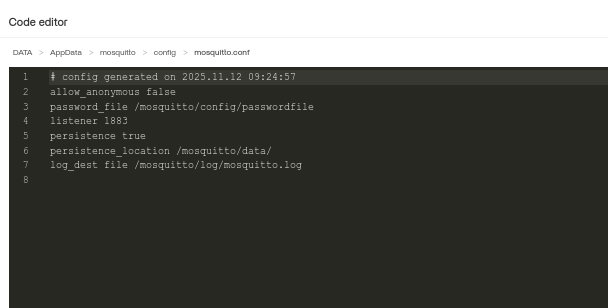
Turn off anonymous logins and create a path to username/password:
- allow_anonymous true
+ allow_anonymous false
+ password_file /mosquitto/config/passwordfile
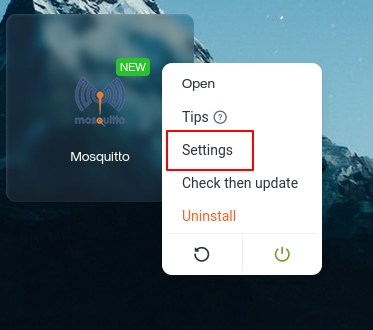
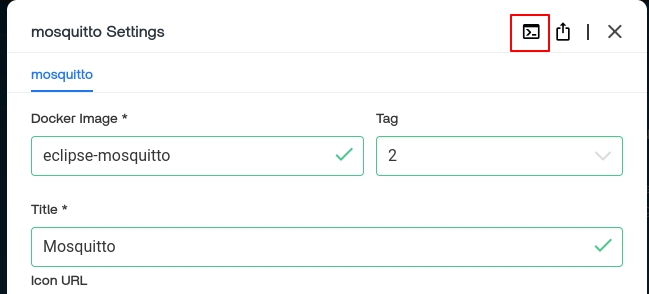
Then, in Casa OS, click on three dost on Mosquitto icon -> Settings and open terminal to manually set username and password for MQTT with
mosquitto_passwd -c passwordfile username
(you have to be in config folder, use cd to navigate, see attached screenshot)

Hit the password, you can customized username opentux to whatever you want. After settings MQTT Broker is running on port 1883 under opentux username and typed password.
Code server
Search for Code server in Apps. Open and choose "Custom install" as in previous step. As OpenHAB use port 8080 by default, we will change a default port for Code server in this case to 8085. Fill a default password with access to the Code server and sudo password (it's only for Code server) too. See screenshot below:
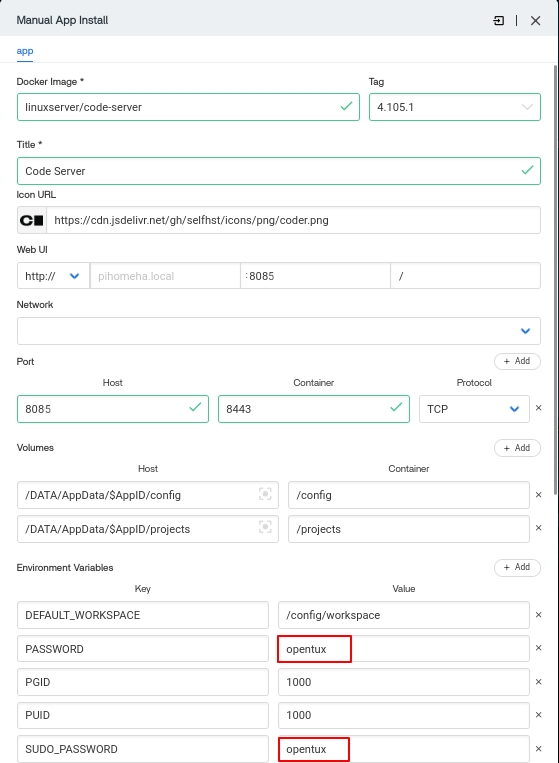
After installation, open Code server (click on icon), login. This is all at this time, we will add folder from Home Assistant or OpenHAB in next steps.
n8n
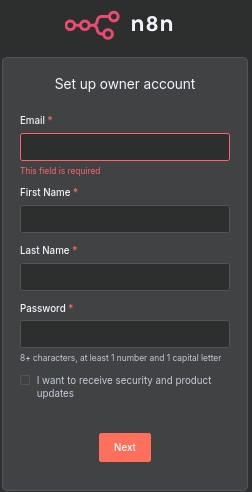
Search for n8n. Open and click Custom install. We don't need to change anything in this case. Click Install.

After install, open n8n app and create account for first login. Done.
Home Assistant
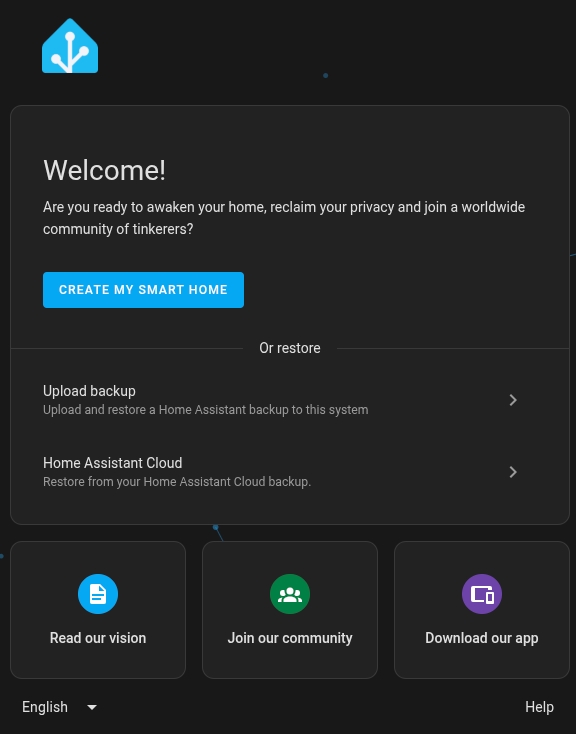
Open App Store, search for Home Assistant, open and choose Custom install. In this case, we don't need to change anything. Click Install.
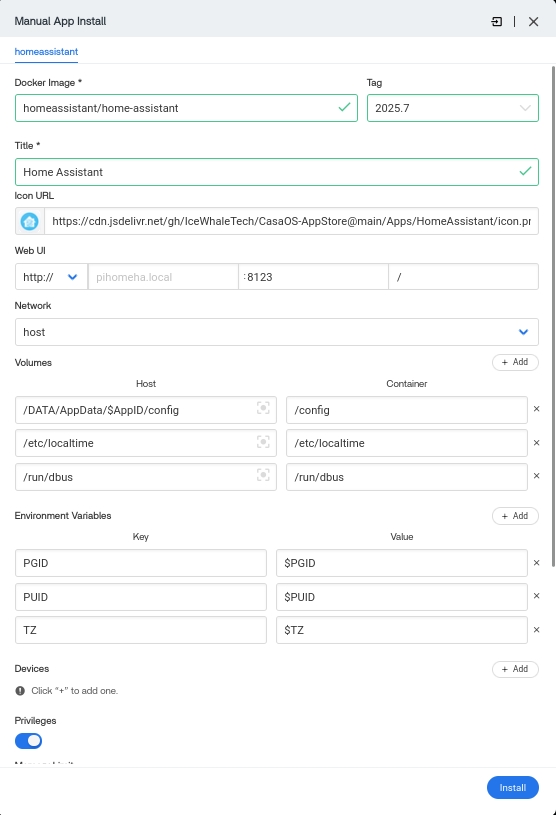
Open Home Assistant. First login should be available.
If works, further settings we will do in next part of the tutorial.
OpenHAB
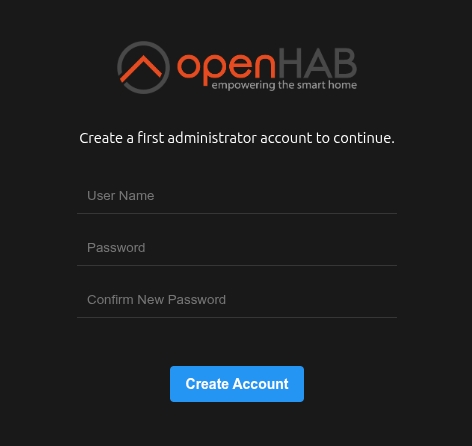
If you want to use OpenHAB instead of Home Assistant, open AppStore, look for OpenHAB, open and click Custom install.

After installation you should be able to click on OpenHAB icon, and first login page will be available:
Add new comment