
What will we need?
Hardware
Raspberry Pi 5 8GB or more, at least a passive CPU cooler
An expansion board with the required number of SSD drives (2 or 4 or more), e.g. X1011 or the more powerful X1016
NVMe SSD drives with the desired capacity. One for the system (e.g. 256 GB) and two for data
Case
USB-C power supply, at least 5V/4A or 12V depending on the expansion board
Optional: SD card or NVMe → USB adapter
Given the jump in SSD prices, one SSD where data will be mirrored can be replaced in a pinch with a USB HDD drive
Software
In this solution we use the open source Open Media Vault 7, referred to hereafter as OMV. For Raspberry Pi we will use Raspberry Pi Imager, which is available for Linux, Mac, and Windows. The reason is that for security reasons, new images no longer have a default password and you must create one yourself. The easiest way is to use this tool. You can download it from the link below:
https://www.raspberrypi.com/software/

If you have an NVMe → USB adapter, insert the system SSD into the adapter and connect it to the PC. If you only have a micro SD card, you need to flash Raspberry Pi OS onto it, boot from it, and run Raspberry Pi Imager from the SD card. Video tutorial here.
After installation, launch the imager and select your version of Raspberry Pi. Then choose Raspberry Pi OS (Other) and Raspberry Pi OS Lite (64-bit) for your version of Raspberry Pi.

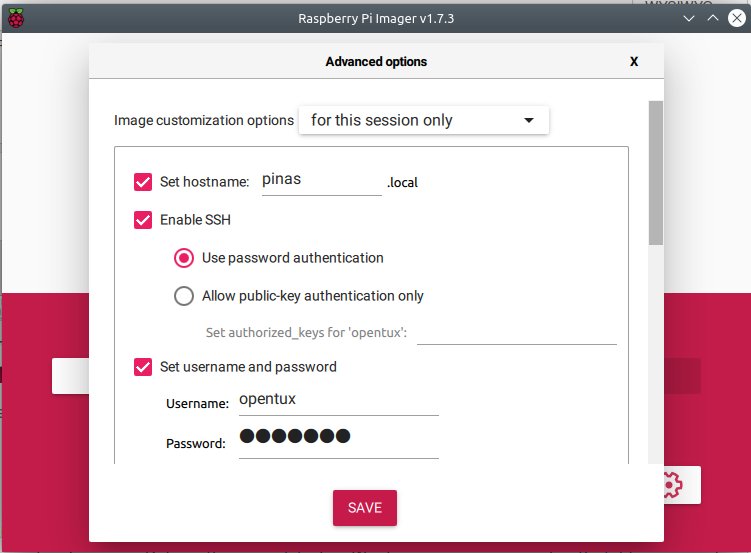
In the last step, select your SSD drive (be careful to choose the correct device — ideally disconnect all other USB drives and flash drives!). Click Next and when prompted with OS Customization, choose Edit Settings. On the Services tab, enable SSH by selecting Enable SSH, and on the General tab set the hostname and the default username and password for SSH access. Click Save and then Yes.
Then simply insert the SSD drive into the Raspberry Pi, connect a LAN cable from your home or office router/network, and plug in the power. The green LED should start blinking. If an Ethernet cable is connected, the Raspberry Pi has most likely obtained an IP address from the router's DHCP.
We will now use SSH to access our Raspberry Pi. For beginners, this might be a good moment to get familiar with the terminal (the Linux command line), for example through the article A Beginner's Guide to the Linux Command Line. It may look intimidating, but it is the most powerful part of Linux — it always works everywhere and has remained consistent for decades.
For Windows 10/11 users, SSH is already built into the shell. For other Windows users we recommend the Putty application. If you are using Linux, no further explanation is needed. Connect via the terminal using the following SSH command. Replace the IP address with the one you found in your router. Use the username and password you set in Raspberry Pi Imager. For example, in our case:
ssh opentux@pinas.local
Note: If the address pinas.local does not work, log in to your router and check the list of connected devices, where you will find the IP address of the device with the hostname pinas or whatever name you chose.
Once connected, update the OS with two consecutive commands:
sudo apt-get update
sudo apt-get upgrade
This will take a few minutes; when done, install OMV by copying the script:
wget -O - https://github.com/OpenMediaVault-Plugin-Developers/installScript/raw/master/install | sudo bash
After a few more minutes your own non-commercial NAS is ready to use. The original English-language guide can be found here. After installation, open a web browser and enter the address of your RPi. You will see a login window.
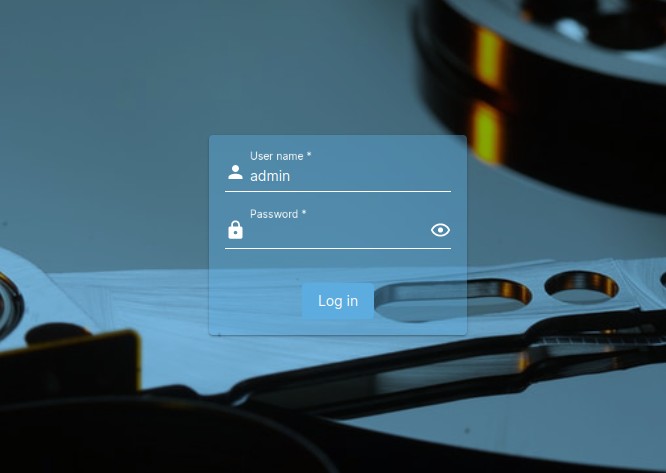
The basic required configuration is straightforward. Log in via the web interface using the account admin with the default password openmediavault. This guide assumes an English environment, which is the universal option, but nothing stops you from using OMV in your own language.
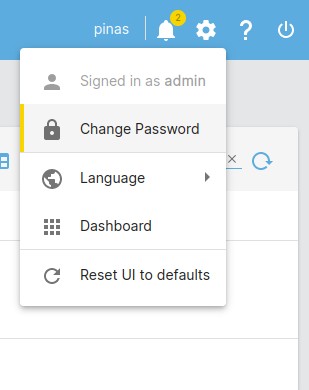
After the first login, change the default password for the admin user via the gear icon in the top-right corner → Change password.
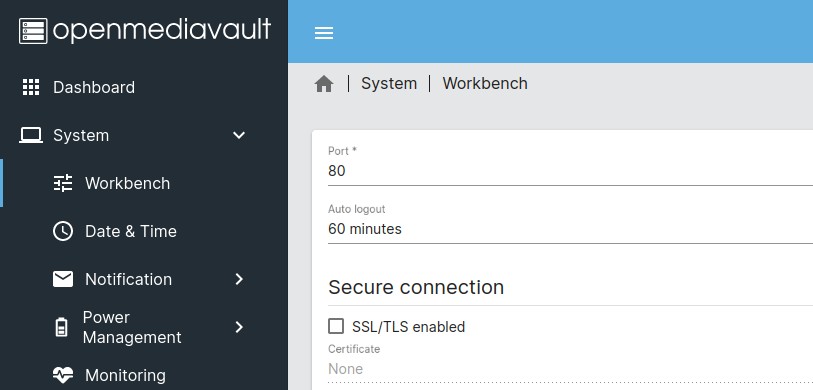
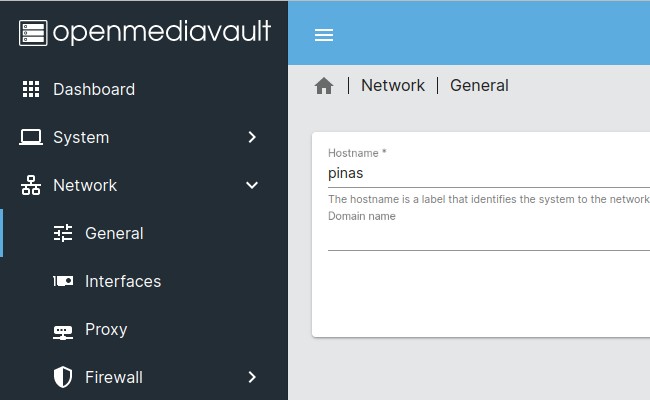
Under System -> Date/Time you can set the time zone. Under Network > General you can freely change the hostname — i.e. the name of the home NAS on the network.
The basics are done; restart the NAS and log in with the new password.
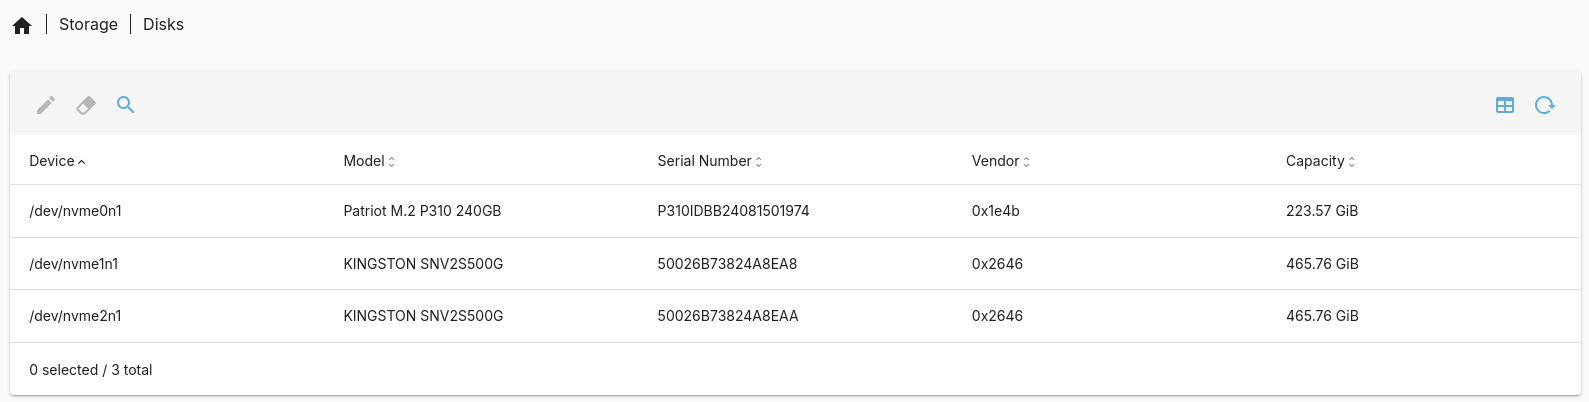
Under Storage -> Disks you will see your main SSD drive and the two additional drives.
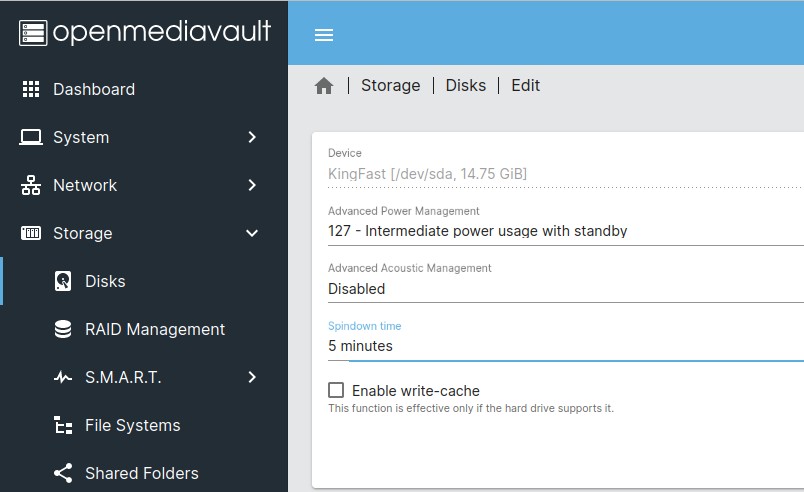
Next, under the File Systems tab you will see which partitions are available. For Open Media Vault we need the Linux format ext4. If your drives are new, choose Create, then select the desired drive and give the new partition a name/label such as DiskA and DiskB. If a drive already has a partition, delete that partition (you will lose data!) and create a new one with the ext4 format. (A drive can be completely wiped under the Disks tab using the Wipe option.)
The goal is to create something similar to the image below. This applies for example to 2 spinning drives.

In a home environment, where the health of patients or huge flows of money do not depend on our NAS, we can make do with simple automatic copying of data to the second drive. For this purpose, the Linux world offers the tool RSync. You can set up automatic backup of the entire contents or specific folders every night, every other day, or as needed. You can even choose whether to keep the same content as the main drive or to retain files that have already been deleted from the main drive. In case of a mistake, your data is still available for some time on the second drive. Only a special user has access to the second drive, so ransomware cannot reach it — at least not for older content.
Even this solution is not a full backup. In any case, you must have an old USB drive on hand where you back up the NAS contents once every 6 months and store it somewhere safe outside your home. This also protects your photos and data from fire and other catastrophic events.
Setting up Rsync backup
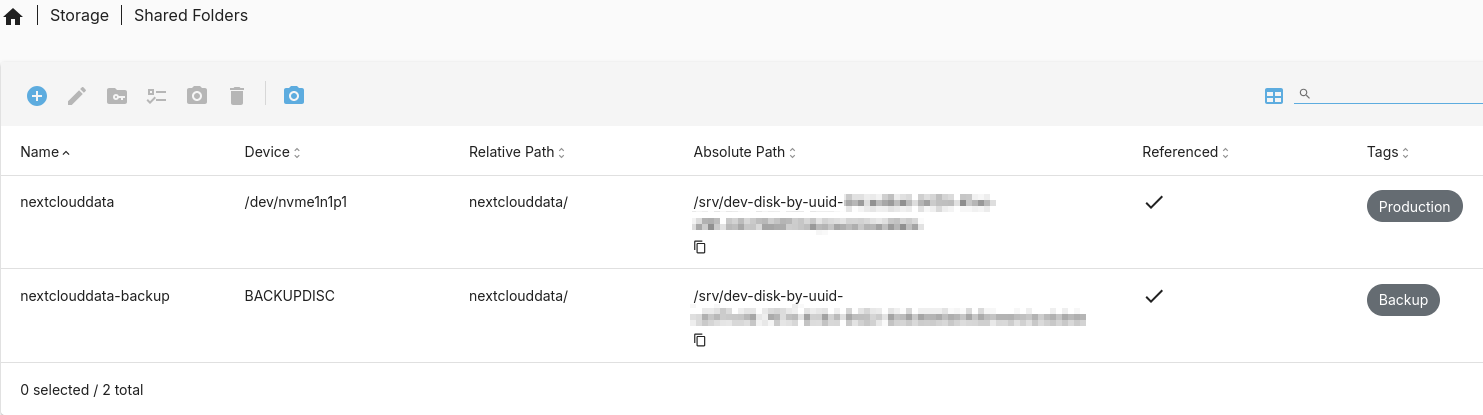
First, you must have Shared Folders created on both drives. To tell them apart easily, the main folder on drive A is named e.g. Photo and the backup destination folder on drive B is named PhotoBackup.
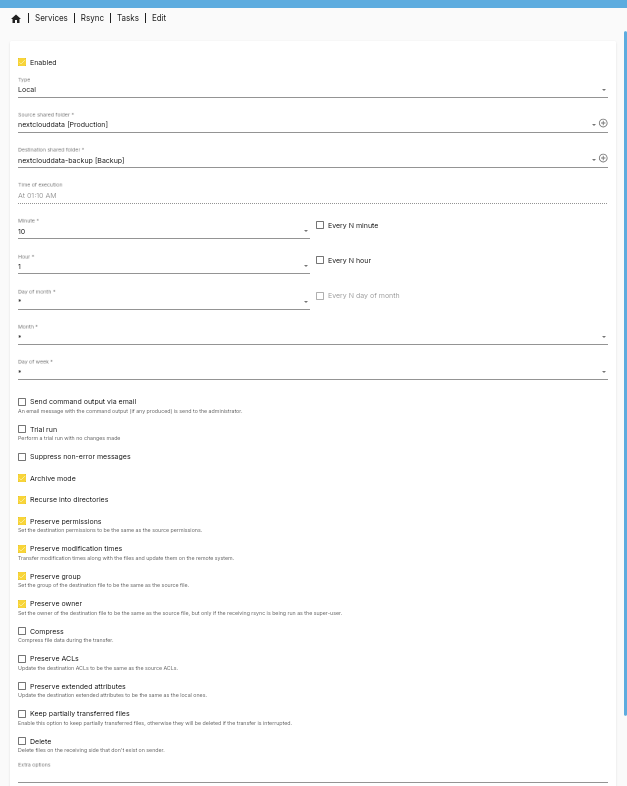
Under the Rsync tab, enable the server service. Then switch to Jobs and add a job that will trigger the backup at a set time of the week. The screenshot below shows the configuration for backing up Photo from drive A to PhotoBackup on drive B, every day at 3:00 AM. Photos that no longer exist on drive A are not deleted. This can of course be changed in the Delete field of the settings.
That covers the basics. The rest is handled by NextCloud, see the continuation.
Add new comment