

What will we need?
Raspberry Pi 5 with an SSD drive. A compact solution is available in our online store.
Power adapter of at least 25W
Software
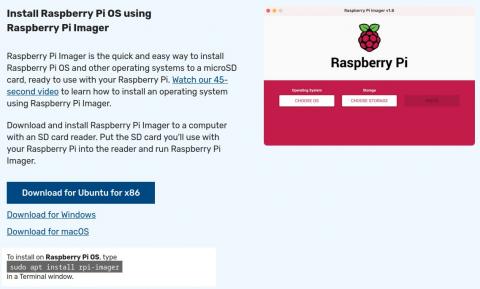
For the Raspberry Pi, we will use Raspberry Pi Imager directly, available for Linux, Mac, and Windows. This is necessary because the new images no longer have a default password for security reasons, so you need to create one. The easiest way is through this utility. Download it via the link below:
https://www.raspberrypi.com/software/
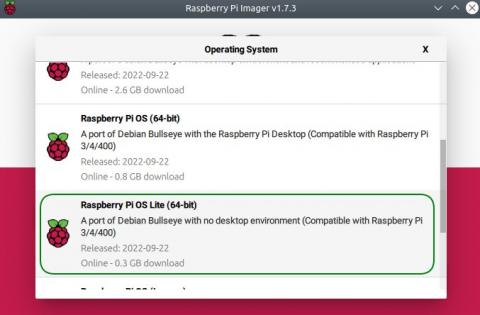
After installation, run the imager and select your Raspberry Pi version. Then choose Raspberry Pi OS (Other) and Raspberry Pi OS Lite (64-bit) for your Raspberry Pi version.
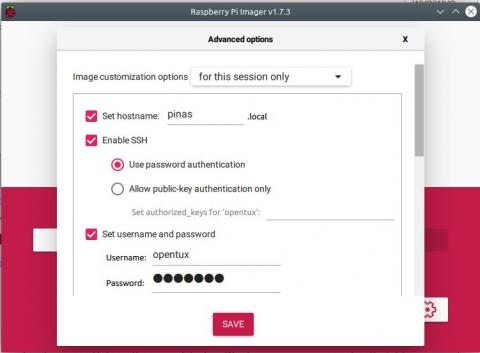
In the final step, select your SSD drive (be careful to choose the correct device; it’s better to disconnect all other USB drives and flash drives!). Choose Next, and when prompted for OS Customization, select Edit Settings. Under the Services tab, enable SSH by selecting Enable SSH, and in General set the hostname and default username and password for SSH. Click Save and then Yes.
Then just insert the SSD into the Raspberry Pi, connect the LAN cable from your home/business router or network, and plug in the power. The green icon should start blinking. If the Ethernet cable is connected, your RPi probably received an IP address from the router’s DHCP. Connect to your router and check the list of connected devices to see the IP of the device with the hostname picloud, or whatever you chose. For example, ours is 192.168.1.56. We will use SSH to access our RPi. For beginners, this is a good time to get familiar with the terminal (Linux command line), for example in the article Guide to the Command Line for Linux Beginners. It looks intimidating, but it’s one of the best things about Linux. It just works everywhere and, most importantly, the same way for decades.
For Windows 10 users, built-in SSH support is available via the shell. For other Windows users, we recommend Putty. For Linux users, no further instructions are needed. Connect via terminal using the SSH command below. Replace the IP with the one you found in your router. Enter the username and password as you set in Raspberry Pi Imager. For example:
ssh opentux@192.168.1.56
1) Installing Casa OS
After connecting, update the OS with the following two commands:
sudo apt-get update
sudo apt-get upgrade
This will take a few minutes. Finally, install Casa OS by copying the script:
wget -qO- https://get.casaos.io | sudo bash
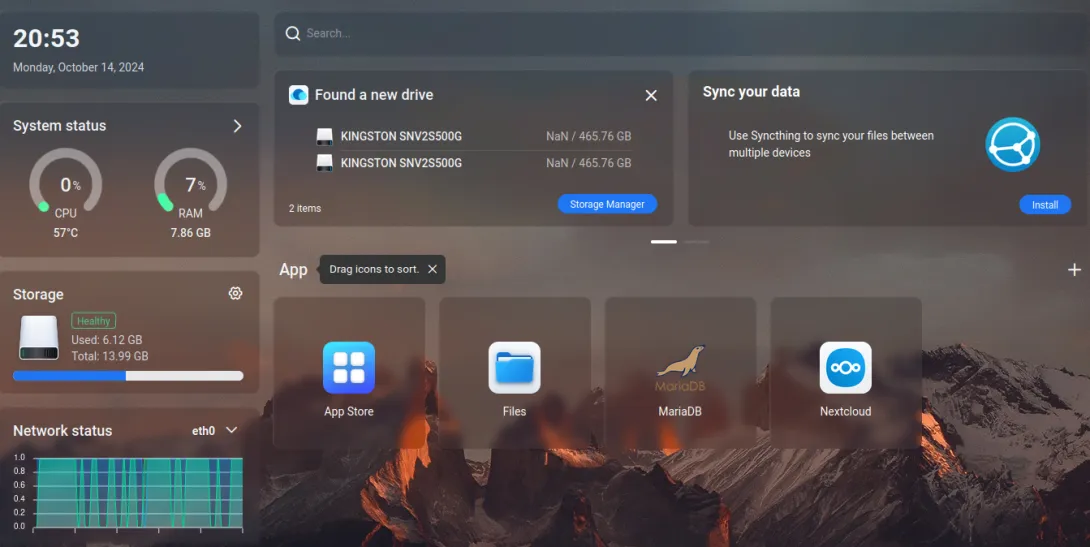
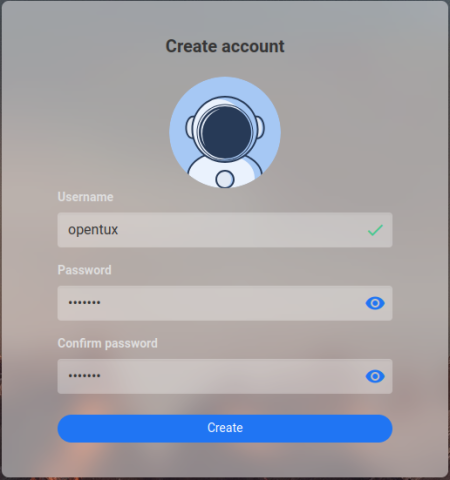
After a few more minutes, Casa OS will be ready to use. After installation, open a web browser and enter the address of your Raspberry Pi. In our case: http://192.168.1.56. First, you will be prompted to create an admin account for Casa OS.
What exactly is CasaOS?
CasaOS is an open-source personal cloud operating system developed by IceWhale Technology. Designed for simplicity, it allows you to run and manage self-hosted apps and media from a clean, web-based dashboard.
To install your own applications, follow the instructions for each application in the How-To section.
Add new comment