

In this section, we will deploy a fully functional Nextcloud instance on CasaOS using Docker-based apps. The setup includes installing and configuring MariaDB as the database backend and Nextcloud as the self-hosted cloud platform.
You will learn how to:
Install MariaDB from the CasaOS App Store and create a database for Nextcloud
Deploy Nextcloud and connect it to the MariaDB database
Configure the data directory and persistent storage
Complete the first-time setup by creating an admin account
Apply basic security and performance recommendations
By the end of this section, you will have a secure, private cloud running on your Raspberry Pi, ready for file syncing, sharing, and further customization.
What will we need?
Raspberry Pi 5 with Casa OS see previous tutorial.
Software
Installing MariaDB
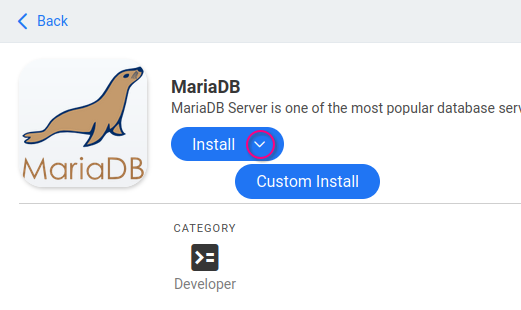
After logging into Casa OS, select Apps and search for MariaDB. Click on it (do not click Install) and choose Custom install from the dropdown arrow next to Install.
Fill in the following details. Essentially, select only the MariaDB network and change the database name and login details. Use your own password!
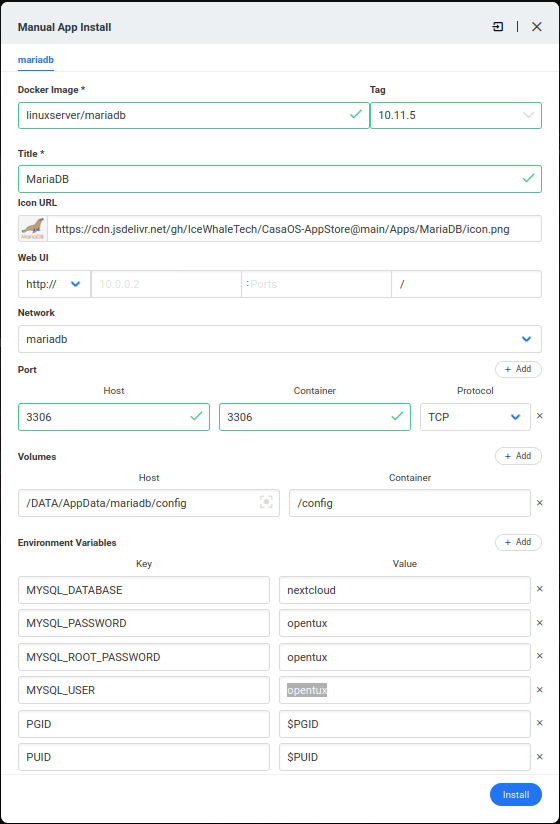
Click on Install. After a moment, it's done.
Installing Nextcloud
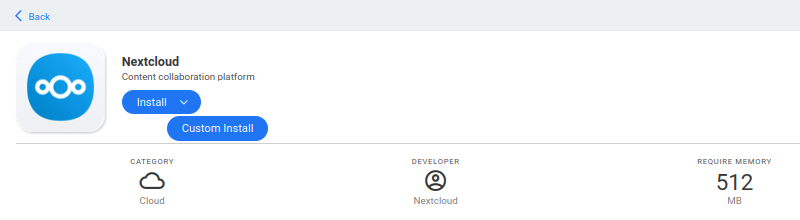
Go to Apps and search for Nextcloud. Click on it (do not click Install) and choose Custom install from the dropdown arrow next to Install.
Fill in the following details. Simply select only the MariaDB network.
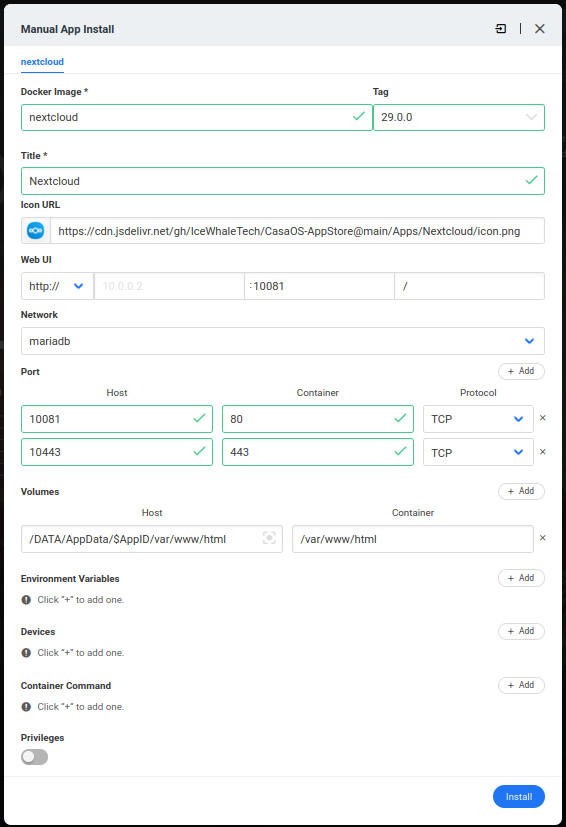
After installation, go to Nextcloud. Simply enter the same IP with a different port. As seen in the image above, the port is 10081. In our case, we enter http://192.168.1.56:10081 and set up the first user. Below, enter the database user and database name. The hostname is mariadb. This is crucial!
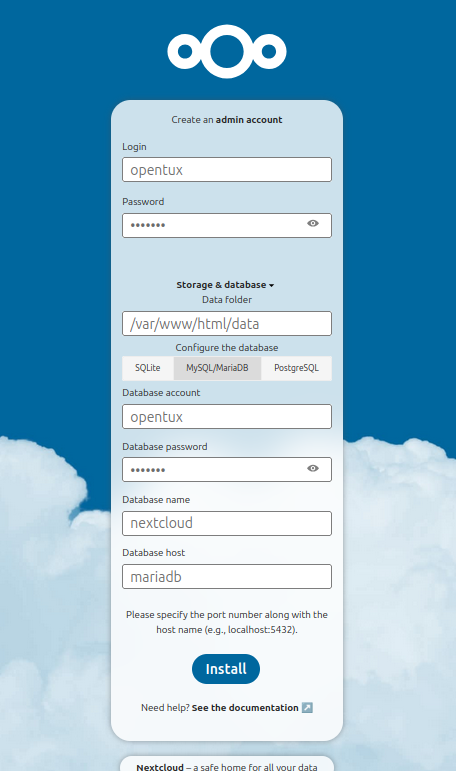
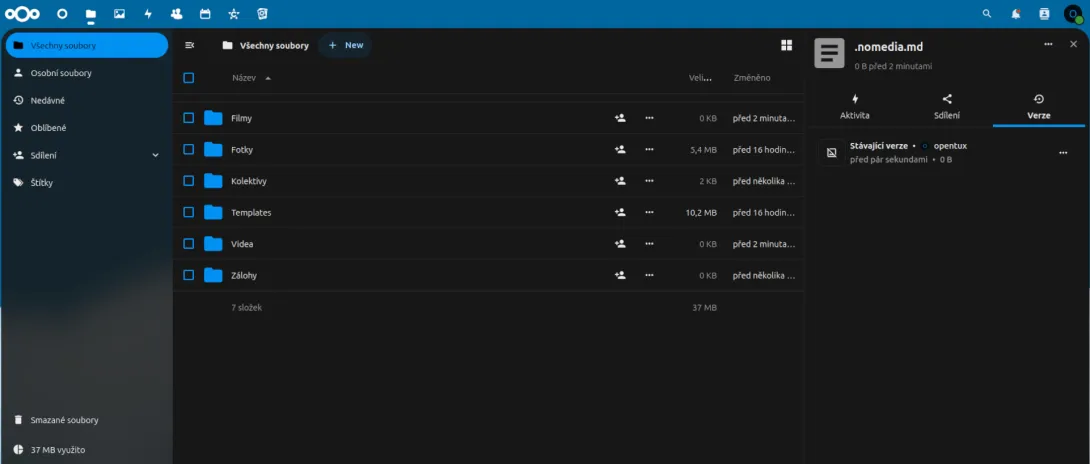
And that's it! Nextcloud is functional.
Add new comment