
After installing OMV, we need to make a few changes. The first change concerns the default port of OMV, since Casa OS also uses port 80.
We will do this by connecting via SSH and entering the command:
sudo omv-firstaid
![]()
where in the Configure workbench section we change the port from 80 to 81.
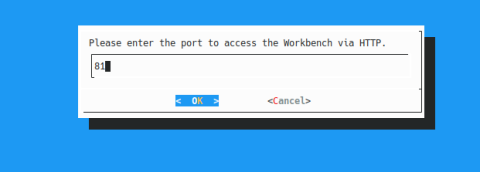
Confirm. Reboot
sudo reboot
1) Casa OS installation
Connect again via SSH and install Casa OS by copying the script:
wget -qO- https://get.casaos.io | sudo bash
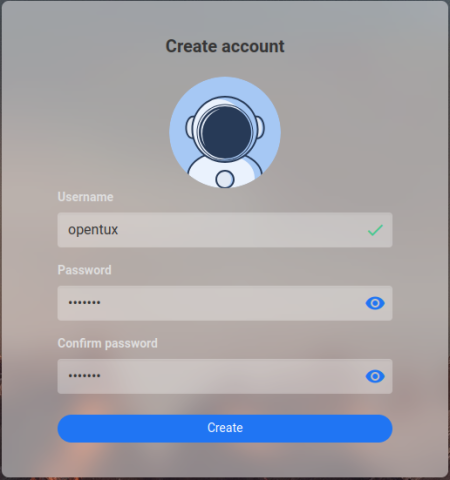
After a few minutes, the Casa OS application is ready to use. After installation, open a web browser and enter the address of your Raspberry Pi. In our case http://pinas.local or http://192.168.1.56 Create an admin account for Casa OS. OMV is then available on port 81, i.e. http://pinas.local:81 or http://192.168.1.56:81
What is CasaOS?
An open-source operating system designed to run on home servers and NAS (Network Attached Storage) devices. It allows easy installation and management of containerized applications using Docker, simplifying deployment of services such as media servers, VPNs, or data synchronization apps. It supports installing various applications and extensions, enabling users to customize the system without deep knowledge of Docker and containers.
2) MariaDB installation
After logging into Casa OS, select Apps and search for the mariadb database. We need it for NextCloud and more. Open it (do not click Install) and choose Custom install from the arrow next to Install.

Fill in the following details. Basically select only the mariadb network and change the database name and login credentials. Use your own password!
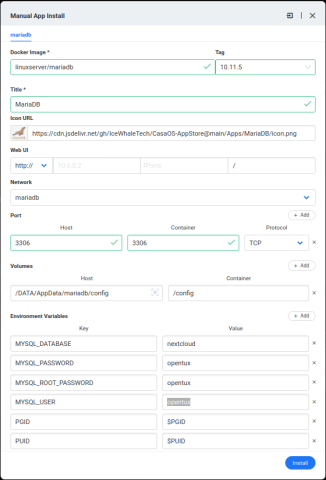
Click Install. After a moment, you're done.
4) Nextcloud installation
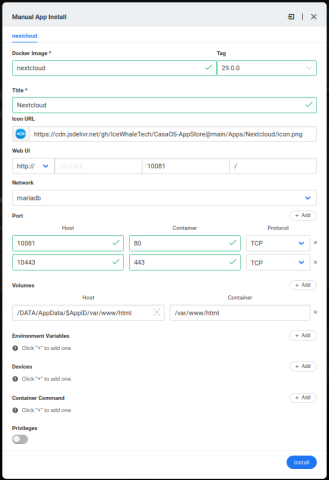
Select Apps and search for NextCloud. Open it (do not click Install) and choose Custom install from the arrow next to Install.
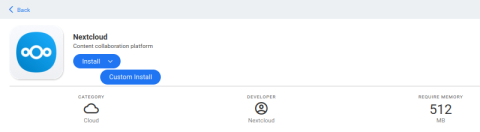
Fill in the following details. Basically select only the mariadb network.
After installation, go to NextCloud. Simply enter the same IP but a different port. As shown above, we set the port to 10081. In our case, enter http://192.168.1.56:10081 and set up the first user. Then fill in the database user and database name below. The important hostname is mariadb
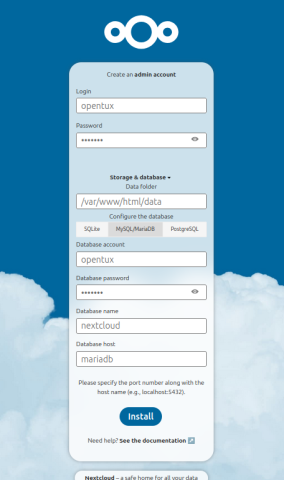
And that's it!
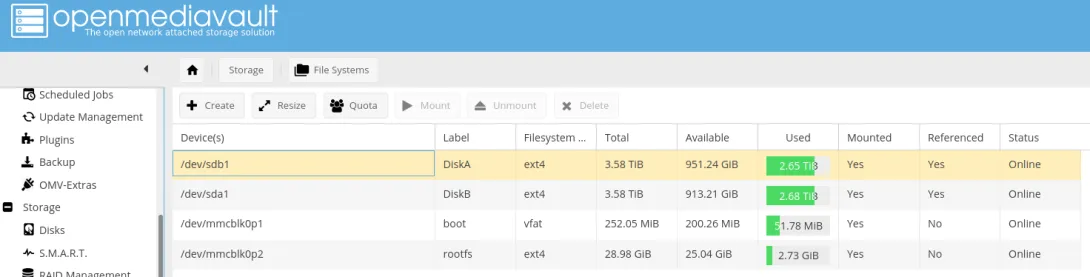
Nextcloud is now up and running. However, the NextCloud data is currently stored on a single SSD together with the system. If you only have one SSD and want to use it this way, you can. But if something happens to the disk and you don’t have a backup, you will lose your data. We have a solution to improve this by moving NextCloud data to a separate SSD and adding another SSD for mirroring/backup. We will use Open Media Vault for this.
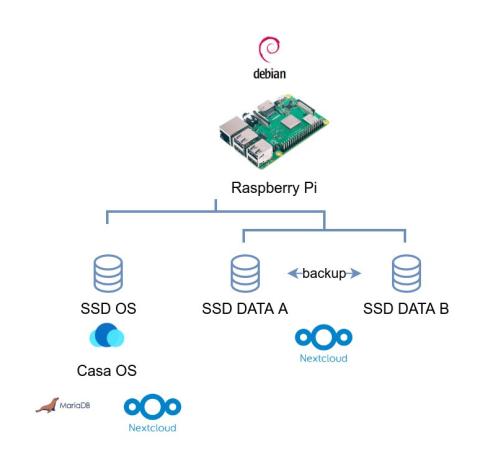
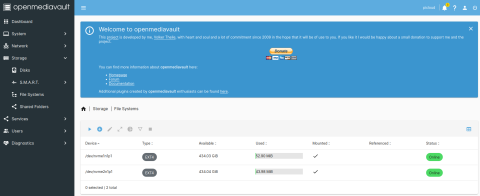
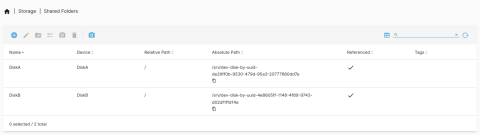
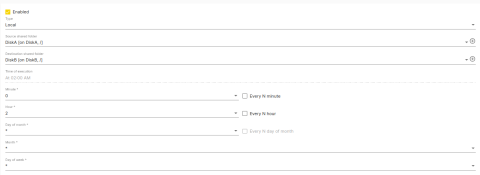
Connect to Open Media Vault (e.g. http://192.168.1.56:81) and configure the SSD disks. If you don’t have them yet, create ext4 partitions for the second and third disks with tags diskA and diskB. See the first part of the PiNAS tutorial. Also set up backup from diskA to diskB using Rsync if you haven’t already. It should look something like this:
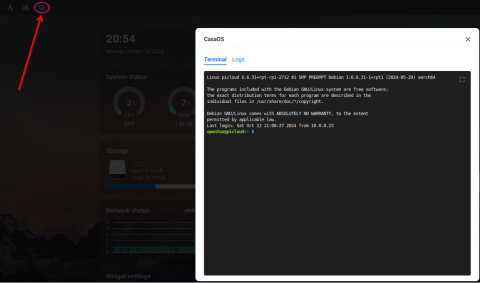
Log in to Casa OS (e.g. http://192.168.1.56) and open the Terminal (Linux command line) using the third icon from the top left.
NextCloud stores data by default in /DATA/AppData/nextcloud/var/www/html/data. Open Media Vault mapped the disks based on the Shared Folders configuration. We now need to manually link the disks into /DATA/AppData/nextcloud/var/www/html/diskA and /DATA/AppData/nextcloud/var/www/html/diskB and modify the NextCloud configuration to use these folders.
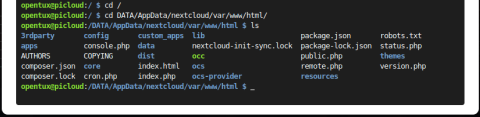
1) Go to the folder /DATA/AppData/nextcloud/var/www/html/ by entering the command in Terminal
cd /DATA/AppData/nextcloud/var/www/html/
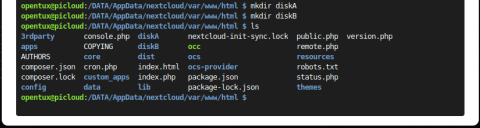
2) Create folders diskA and diskB
mkdir diskA
mkdir diskB
3) Edit /etc/fstab and add automatic mapping into the NextCloud root folders
sudo nano /etc/fstab
and add two lines at the end of the file (replace with your UUIDs). See example below:

we added the following. Copy /srv/dev-* according to your UUIDs:
# Added manually
/srv/dev-disk-by-uuid-de29ff0b-9530-479d-95a3-20777880dd7e /DATA/AppData/nextcloud/var/www/html/diskA none bind 0 0
/srv/dev-disk-by-uuid-4e8605ff-1148-4f89-9743-d02df1ffd14a /DATA/AppData/nextcloud/var/www/html/diskB none bind 0 0
Save with CTRL+O, confirm with Enter, and exit nano with CTRL+X.
Reboot Raspberry Pi.
4) Finally, the most complex task:
a) Copy the contents of /data to /diskA
switch to root using:
sudo -s
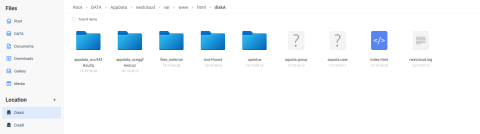
go to the /data folder (cd /data) and copy the contents:
cp -r * ../diskA
![]()

One hidden file is still missing. Copy it manually:
cp .ocdata ../diskA
![]()
Finally, set permissions for the www-data user for diskA and all subfolders/files:
chown -R www-data:www-data diskA
chown -R www-data:www-data diskB
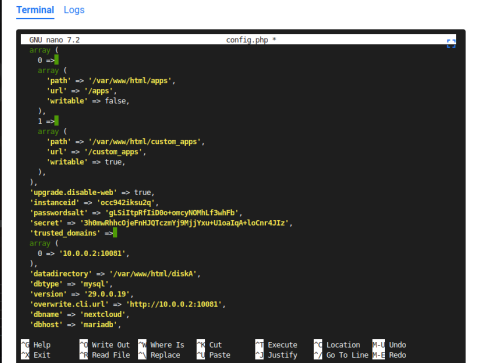
5) Now change the NextCloud configuration:
Open the terminal in Casa OS, go to /DATA/AppData/nextcloud/var/www/html/config and edit config.php
sudo nano config.php

Change the default data directory to diskA
6) Restart Nextcloud, for example via the icon in Casa OS:
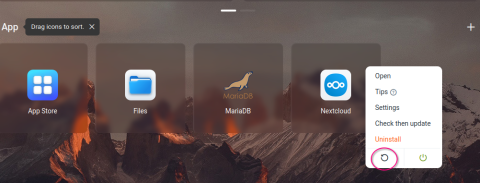
Nextcloud should now start and use folders on the separate SSD. Based on your rsync setup, these folders should also be backed up to diskB. You can verify this in Casa OS under Files

If something happens to diskA, simply switch the Nextcloud configuration to diskB and continue!
Tip: From a security perspective, we recommend using the 3-2-1 backup strategy. This means having one external backup (in this case, an HDD is sufficient for manual backup). Perform it, for example, once every 6 months or more frequently as needed. The 3-2-1 strategy means having 3 copies of data: one production, two backups, and one of those backups stored offsite (outside the building) in case of fire, theft, or loss of the entire Pi-Cloud.
Add new comment