Kategorie
Extension – Say Goodbye to Ads with Pi-Hole
Extension – Say Goodbye to Ads with Pi-Hole

What will we need?
PiCloud - installation instructions can be found in the previous article
How to do it
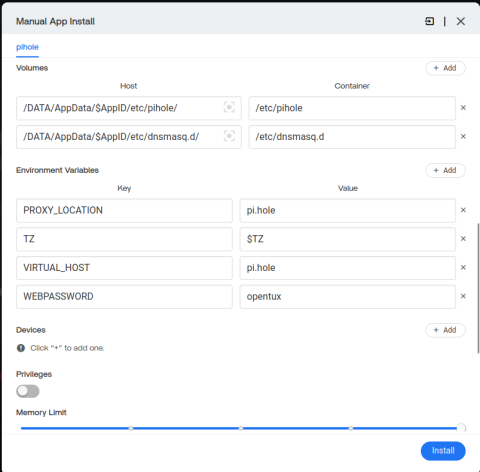
1) Log into Casa OS, click on Applications, and find Pi-Hole. Click on it, then click the arrow next to Install and choose Custom install.
Scroll down and change the default login password for Pi-Hole to something of your own. The default is casaos.

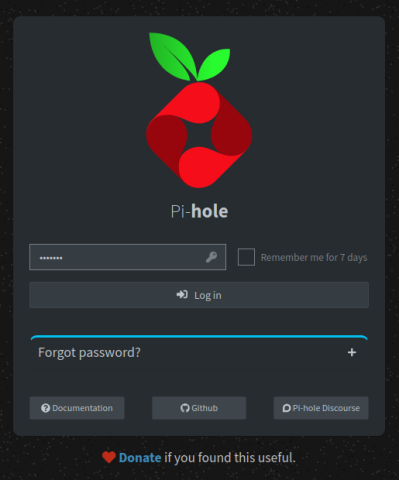
After installation, enter the address of your Pi-Cloud in the browser with port 8800. For example, in our demo, it is http://192.168.1.56:8800
The final step is to route your router's DNS through Pi-Hole. The exact steps may vary depending on your router manufacturer. Below is an example using a MikroTik router. Here, DNS is set up in IP -> DHCP Server -> Networks. In the DNS field, enter the Pi-Cloud address. In the example below, it is 10.1.1.52.

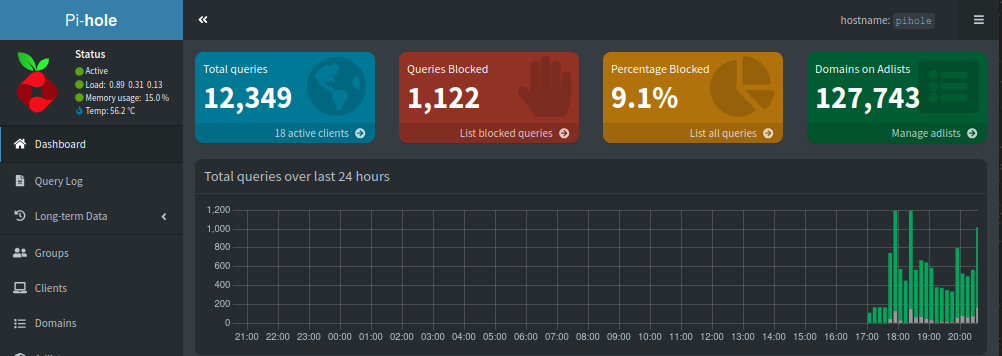
After saving, disconnect and reconnect to the network. Now, you should be able to see connected client devices and traffic in Pi-Hole:

If you want to block social media or disinformation websites at home, you can add a list of blocked addresses in the Adlist tab. Some social media platforms use dozens of domains for operation, but fortunately, you can find maintained lists in projects like https://blocklistproject.github.io/Lists/
There, you can easily find a link to the social network you want to block and add the URL to the Adlist, as shown below:

Tip: Use ChatGPT to generate a list of verified disinformation websites, for example, in your country. Save the list and add it to the Adlist. This way, you protect not only yourself but your entire family.


Add comment