Kategorie
Pi-NAS Quick Start Guide
Pi-NAS Quick Start Guide

This quick guide helps you how to start using your open source Pi-NAS from OpenTUX in few basic steps.
The software that runs our Pi-NAS user interface controls and settings is called the Open Media Vault (OMV). The current installed version for Raspberry Pi single computers board is OMV5. See https://docs.openmediavault.org/ for full documentation.
1) Unpack the box and put your NAS on the table.
Hint: Skip to point 2) for the version with pre-installed disks
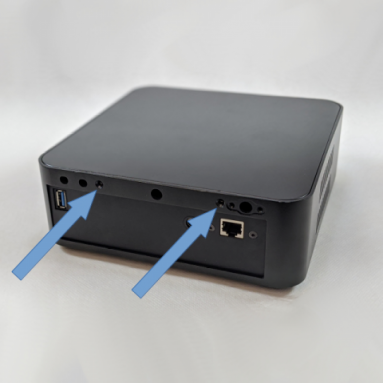
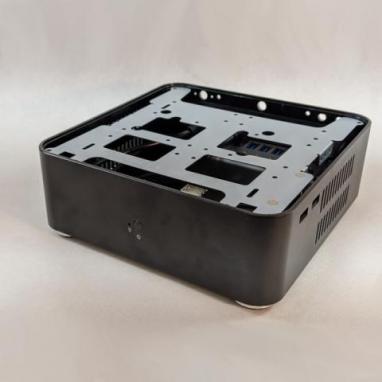
For the non-disk version, remove the two screws at the top of the back of the NAS and raise the top cover.
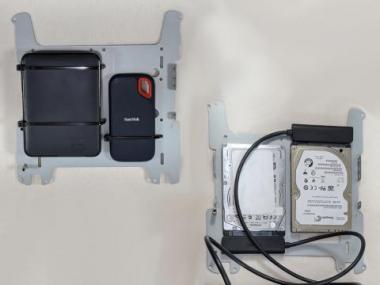
You can generally use 2.5" internal or external drives. If you have older internal drives, you'll need extra SATA to USB3.0 adapter. We recommend choosing the most compact product, which also supports UASP and S.M.A.R.T. We have good experience with SATA to USB3 by UGREEN. External drives connect directly to the powered USB HUB.
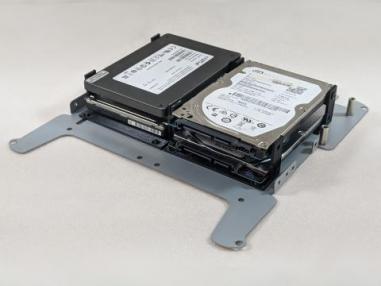
- To connect one to two internal 2.5" disks, you can attach the disks directly with the included screws (imbus H2) or via the included disks adapters
- To connect one to four external 2.5" disks use included strapping tapes to attach the disks
- To connect three to four internal 2.5" disks, use included disks adapters
Try connect power connector and start NAS. Ensure that the LEDs on USB HUB are enable. If not, press the appropriate button to turn them on if applicable.
Hint: If you hate blue LED indicates run on the front of the NAS, you can easily turn it off just by pulling off the dupont cables from the GPIO on the Raspberry Pi board.
Turn off the NAS by disconnecting the power connector and reassemble the NAS.
2) Connect the NAS to your home network and plug in the power connector. After a while, you should see NAS on your router. The default network address assignment setting is set to DHCP, so your router automatically assigns the address. Address discovery can vary depending on the router brand. It is recommended that you look up the instructions online. Use the search query as "dhcp client list your router brand" In our demonstration, we use the MikroTik router. The address list is under IP->DHCP Server->Leases. We find a device with a pinas hostname and remember the IP address.
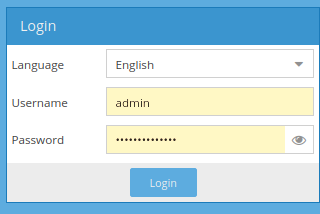
3) We enter the IP address into the browser as: http://x.x.x.x
Log in with default login: admin and password openmediavault
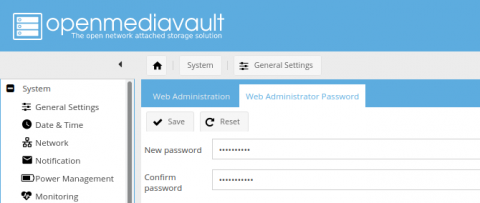
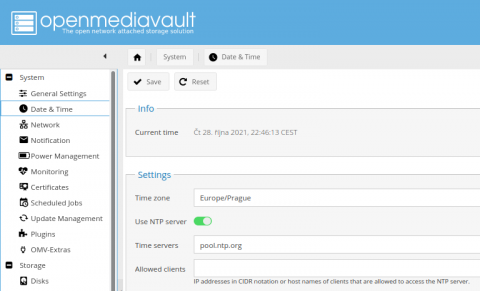
As a first step, we will change the default password in General Settings -> Web Administrator Password. We can also change the time zone settings in Date & Time settings.
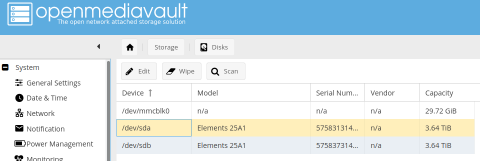
4) In the Disks section you will see the SD card as well as your connected disks. You can delete (format) the added disks with the Wipe button.
!Warning: All data on the selected disks will be deleted!
Next, on the File Systems tab, you will see which partitions are available. For the Open Media Vault, we need the Linux ext4 format. If your disks are new, choose Create, then select the desired disk and give the new partition any name/label. If the disk already contains a partition, delete that partition and create a new one with the ext4 format. The goal is to create something similar to the image below. This picture applies for two disks.

Craete a new user on the Users tab. As an example, we will add a kodi user that will be used to play multimedia from our NAS.
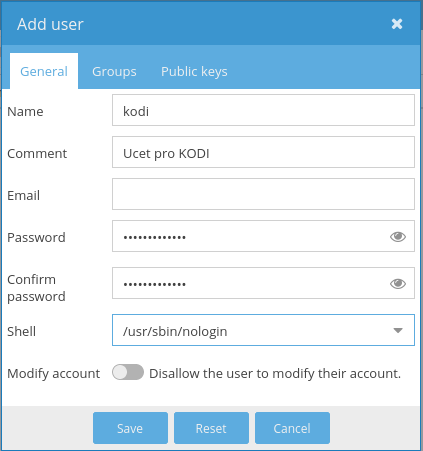
![]()
And, of course, we have to create some shared folders in Shared Folders tab. Typical of home NAS are multimedia, i.e. folders such as Movies, Music, Photos, etc.
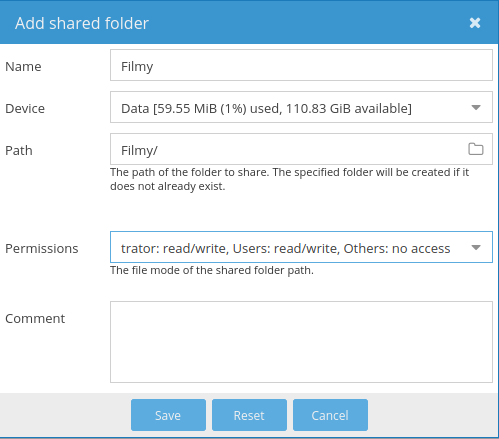
![]()
Finally, we need to set up how to access these folders from other devices. There are a number of standard protocols available, such as SMB, FTP, NFS, etc. For example, for TV or Kodi's mutimedia center, a simple SMB will easily suffice on our home network. We choose the SMB tab and activate the service.
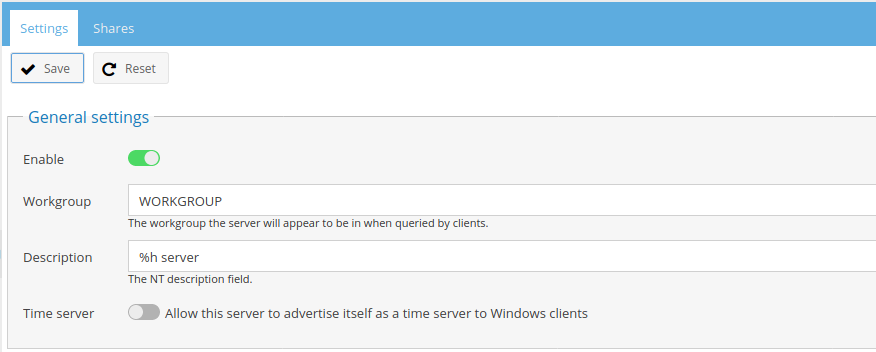
![]()
In Shares, then choose which shared folder you want to share via SMB and what permissions there should be for users.
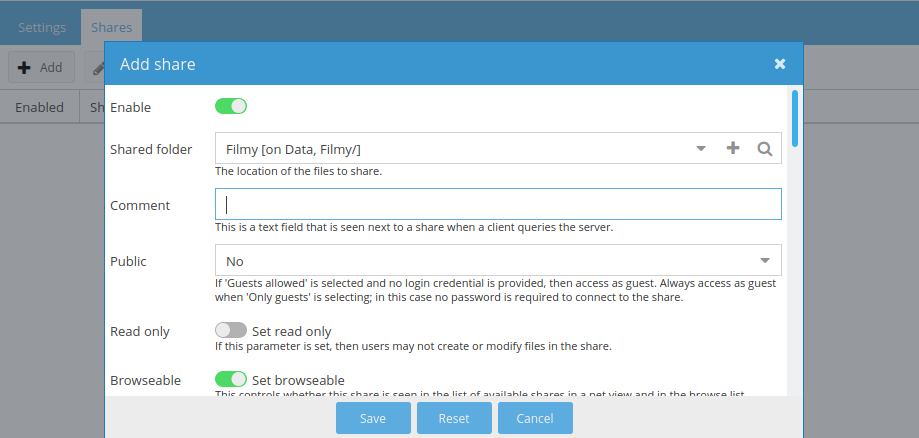
![]()
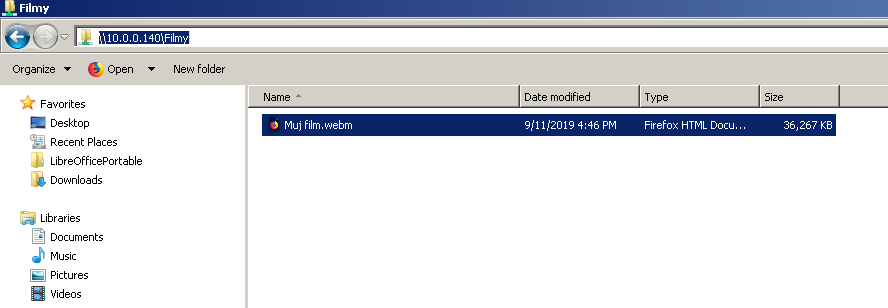
After saving, open File Explorer in Windows and type your RPi address, in my case \\192.168.4.30\ After entering the user's kodi and the correct password, you should see the contents of the folder and you can happily start filling it. Then, on smart TV or KODI, add this shared folder as a media source in a similar way.


Add comment